English version is located below
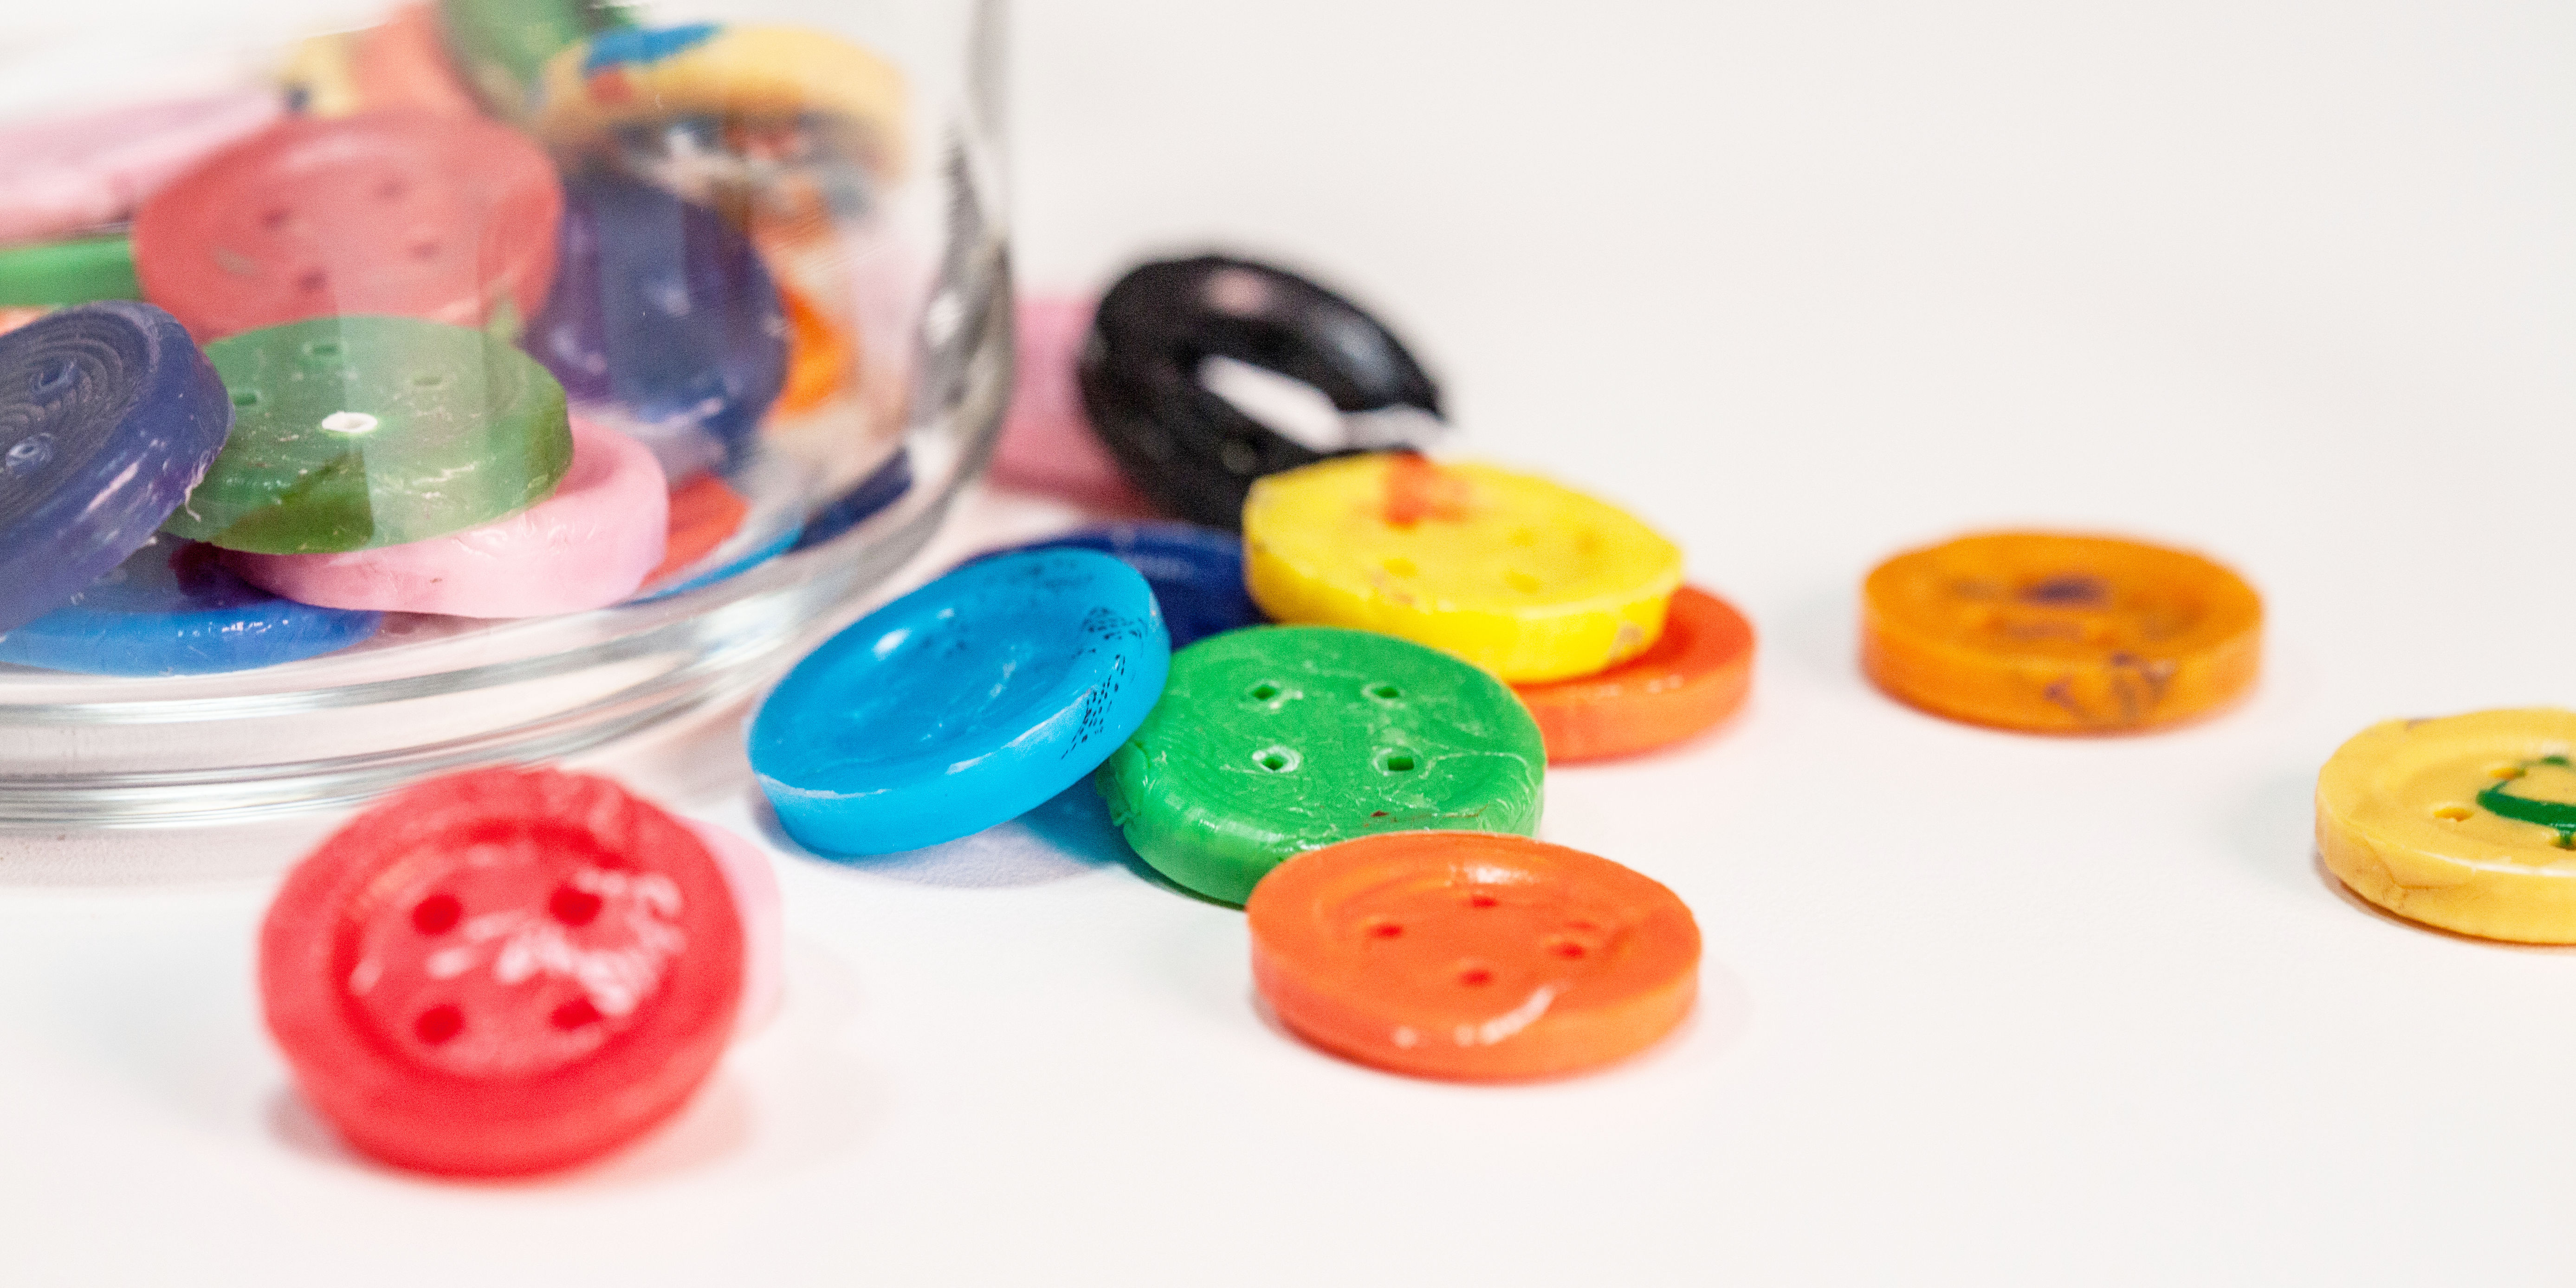
Im Folgenden erklären wir dir in 8 einfachen Schritten, wie du mit der ReButton-Pressform einen ReButton herstellen kannst. Wenn du mehr über die Hintergründe und die Entstehungsgeschichte des ReButtons wissen willst, kannst du das hier nachlesen: ReButton@LUGA 2018
WERKZEUGE UND ARBEITSSTATION
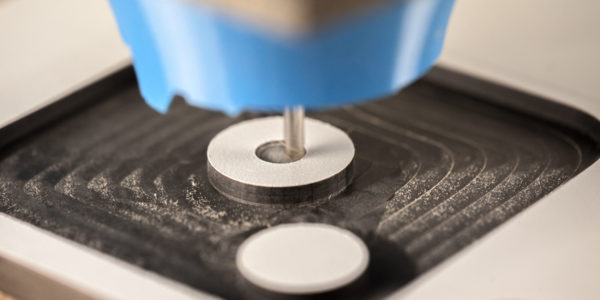
Das wichtigste ist natürlich die ReButton Pressform, das Herzstück so quasi! Die Pressform haben wir im FabLab Luzern entwickelt und können sie auf unserer CNC-Fräsmaschine herstellen. Wenn du noch keine Pressform besitzt, nimm einfach mit uns Kontakt auf. Wir erläutern dir gerne die Möglichkeiten, wie du zu einer ReButton-Pressform kommst: labmanager@fablab-luzern.ch
Falls du selber eine CNC-Fräsmaschine hast, kannst du hier kostenlos (open source) das 3D-Model der ReButton Pressform herunter laden: Downloads
Zudem erklären wir dir hier in einem separaten Blogeintrag, welche Werkzeuge und Arbeitsschitte nötig sind, um die ReButton Pressform herzustellen.
Nebst der ReButton-Pressform benötigst du folgende Werkzeuge:
- Heissluft-Föhn (ca. 2’000 Watt)
- Hitzebeständige Unterlage (ca. bis 250°C)
- Schraubstock
- Spachtel und Schraubenzieher
- Becher oder Glas mit kaltem Wasser
- Lederhandschuhe und Schutzbrille
- Cutter oder scharfes Messer

Im FabLab Luzern haben wir die praktischen Arbeitsstationen mit den entsprechenden Werkzeugen parat. Du kannst also während Öffnunszeiten immer bei uns vorbei kommen und so viele ReButtons pressen, wie du möchtest!
HINWEIS ZUR ARBEITSSICHERHEIT – Die Arbeitsunterlage, die Werkzeuge, wie auch die Pressform werden sehr heiss (über 250°C). Sie dürfen nicht mit den blossen Händen angefasst werden! Trage bitte Lederhandschuhe und Schutzbrille zu deiner eigenen Sicherheit. Und achte darauf, dass andere genügend Abstand zu dir halten, wenn du am Arbeiten bist.
SCHRITT 1
Nimm einen Schraubdeckel einer herkömmlichen PET-Faschlasche oder schneide ein ca. 5x5cm grosses Stück aus einer leeren Kunststoff-Flasche (HDPE). Damit das Pressen des Knopf gut funktioniert, muss die Menge des Kunststoffs genau stimmen – nicht zu viel aber auch nicht zu wenig.

SCHRITT 2
Lege den Schraubdeckel oder das ausgeschnittene Stück Kunststoff auf eine hitzebeständige Arbeitsunterlage und erwärme ihn/es mit dem Heissluft-Föhn auf der 1. Stufe für ca. 30-45 Sekunden. Halte ihn/es mit dem Schraubenzieher fest.

SCHRITT 3
Versuche nun langsam einen Klumpen zu formen und diesen mit der Spitze des Schaubenziehers aufzunehmen. Heize den Klumpen für weitere 15-20 Sekunden rundherum auf. Achte aber darau, dass er aussen nicht verbrennt!

SCHRITT 4
Drücke den Klumpen mittig in die Vertiefung der Pressform. Schau, dass möglichst wenig über den Rand steht. Kunststoff kann die Wärme sehr gut speichern. Also nimm dir ruhig Zeit, den Klumpen genau zu platzieren.

SCHRITT 5
Schliesse die Pressform und klemm sie zwischen die Backen des Schraubstocks. Warte einige Sekunden, bis du den Druck wieder löst. Die Form kann aussen sehr heiss sein!

SCHRITT 6
Jetzt kannst du die Pressform öffnen und den Knopf mit den Handschuhen und dem Spachtel aus der Pressform holen. Es funktioniert ganz gut, wenn du den Lochknopf auf der Rückseite mit den Nägeln heraus drückst.

SCHRITT 7
Nach dem Abkühlen im Wasserbad kannst du den Lochknopf heraus fischen. Bis du ihn anfassen kannst, dauert es ca. 1-2 Minuten.

SCHRITT 8
Schneide den überstehenden Rand sowie die Zäpfen auf der Rückseite mit dem Cutter ab. Lass dir dabei helfen, wenn du im Umgang mit dem Cutter nicht gebübt bist!

NACHMACHEN UND TEILEN
Der ReButton wird durch das PlasticTwist-Projekt unterstützt. Das interdisziplinäre und international aufgestellte Forschungsteam von PlasticTwist will mit verschiedenen Massnahmen das Bewusstsein in der Gesellschaft steigern, damit Plastik (wieder) als wertvolle Ressource wahrgenommen wird. Sie hinterfragen etablierte Recycling-Praktiken, forschen an nachhaltigen Innovationen und fördern zirkuläre Wirtschaftspraktiken.
![]()
In the following we explain how you make a ReButton in 8 easy steps. If you want to learn more about the ReButton go to: ReButton@LUGA 2018
Tools and Workstations
The heart of the process is the ReButton mold. This was developed in FabLab Luzern and anyone can also produce it on our CNC-mill. If you do not have a mold, you are welcome to contact us and we are happy to assist you getting one labmanager@fablab-luzern.ch
If you have a CNC-mill then you just have to access, the open source 3D model online: Downloads
In a separate blog entry, we also explain what tools and steps are necessary to make the ReButton mold.
Next to the mold you need the following to make a ReButton:
- Blow-drier (ca 2000 Watt)
- Heat-proof pad or table-top protection
- Vice
- Spatula and screwdriver
- Cup or glass with cold water
- Protective leather gloves and safety glasses
- Cutter or sharp knife
In FabLab Luzern we have the practical workstations with the tools needed. You are welcome anytime during our opening hours to come by and press your own ReButtons.
NOTE ABOUT WORK SAFETY: The Heat-proof pad or table-top protection as well as all other tools, the plastic and the mold get very HOT! (+250). You should NEVER touch them with your bare hands! Wear the leather gloves and protective glasses for your own safety. Be sure that viewers keep a distance when you are working.
STEP 1
Take a bottle cap form a normal PET bottle or cut ca 5×5 cm out of an empty plastic bottle (HDPE). In order for the molding to function you need to have just the right amount of plastic – not too much, but also not too little.
STEP 2
Place the bottle cap or the plastic square on the heat-proof pad or table-top protection and heat it with the blow-drier on level 1 for ca. 30-45 seconds. Keep it in place with the screwdriver.
STEP 3
Now try to slowly form a nugget of the soft material and lift it with the tip of the screwdriver. Heat the nugget in the round for another 15-20 seconds. Take note that it does not burn!
STEP 4
Press the nugget in the middle of the cavity of the mold. Take note that as little as possible is outside the rim. Plastic stores heat very well, so take your time placing the nugget.
STEP 5
Close the mold and place it between the plates of the vice. Wait a couple of seconds before you let go of the pressure. Attention! The mold might be very HOT!
STEP 6
Wearing the gloves you can now open the mold to reveal the ReButton! Use the spatula to lift the ReButton out of the mold. Or use the mold part with the nails to press the ReButton from the back.
STEP 7
Let the ReButton fall into the water to cool off. After 2-3 minutes you can pull it out.
STEP 8
Cut off any surplus material around the edges to make the ReButton smooth and the four taps to expose the holes of the ReButton. If you are not familiar with the use of the cutter get someone to help or instruct you.
COPY AND SHARE!!
The ReButton is part of the PasticTwist-Project. As an interdisciplinary and international Horizon 2020 EU research project PlastisTwist is working to re-valuate plastics as a resource. PlasticTwist contextualizes established recycling habits and explores possibilities for sustainable innovation and circular business practices.
![]()